Replacing a lawn tractor tire might seem daunting, but with the right tools and a clear plan, it's a manageable task. This guide provides a step-by-step process, ensuring you get your tractor back up and running smoothly. We’ll cover safety precautions, tool selection, and troubleshooting tips to make this a successful DIY project. For more information on finding the right tire, check out this helpful resource on lawn tractor tires.
Getting Started: Tools and Safety Precautions
Before you begin, gather the necessary tools and prioritize safety. Failing to prepare adequately can lead to frustration and potential injury. Remember, even a seemingly simple task requires proper planning and execution.
Essential Tools:
- Jack: A sturdy jack capable of lifting your lawn tractor's weight (check your owner's manual for specifications).
- Jack Stands: Absolutely crucial for safety. Never work under a tractor supported only by a jack.
- Lug Wrench: The correct size to fit your wheel nuts.
- Wheel Chocks: Prevent unwanted movement during the repair.
- New Tire: Ensure you purchase the correct size and type for your lawn tractor.
- Tire Pressure Gauge: Accurately inflate your new tire to the manufacturer's specifications.
- Work Gloves: Protect your hands from scrapes and dirt.
- Safety Glasses: Shield your eyes from potential debris.
- (Optional) Ratchet Strap: Helpful for stubborn tire beads.
Safety First!
- WARNING: Always disconnect the spark plug wire and the negative (-) terminal of the battery before beginning any work. This prevents accidental starting and potential injury.
- Work in a well-lit, level area. Uneven ground can make the tractor unstable.
- Engage the parking brake firmly.
Preparing the Tractor and Removing the Wheel
With your tools assembled and safety measures in place, let's begin the tire change. This section details the steps to safely lift and remove the flat tire. Remember, patience and methodical work are key.
- Secure the Tractor: Place wheel chocks securely behind and in front of the tractor's rear wheels to prevent any unintended movement.
- Jack Placement: Position the jack under the tractor's frame near the flat tire. Consult your owner's manual for the recommended jacking point. Incorrect placement can damage the tractor.
- Lifting the Tractor: Slowly and steadily raise the tractor until the flat tire is several inches off the ground. Immediately place jack stands under the frame near the jacking point. Never work under a tractor supported only by a jack.
- Loosen the Lug Nuts: Use the lug wrench to loosen the wheel nuts. Turn them counterclockwise. They may be very tight.
- Remove the Wheel: Once the lug nuts are loose, carefully remove them completely and pull off the wheel. Avoid sudden movements to prevent injury.
Installing the New Tire and Reassembling
Replacing the tire involves careful alignment and inflation. Take your time to ensure everything is seated correctly. A rushed job can lead to future issues.
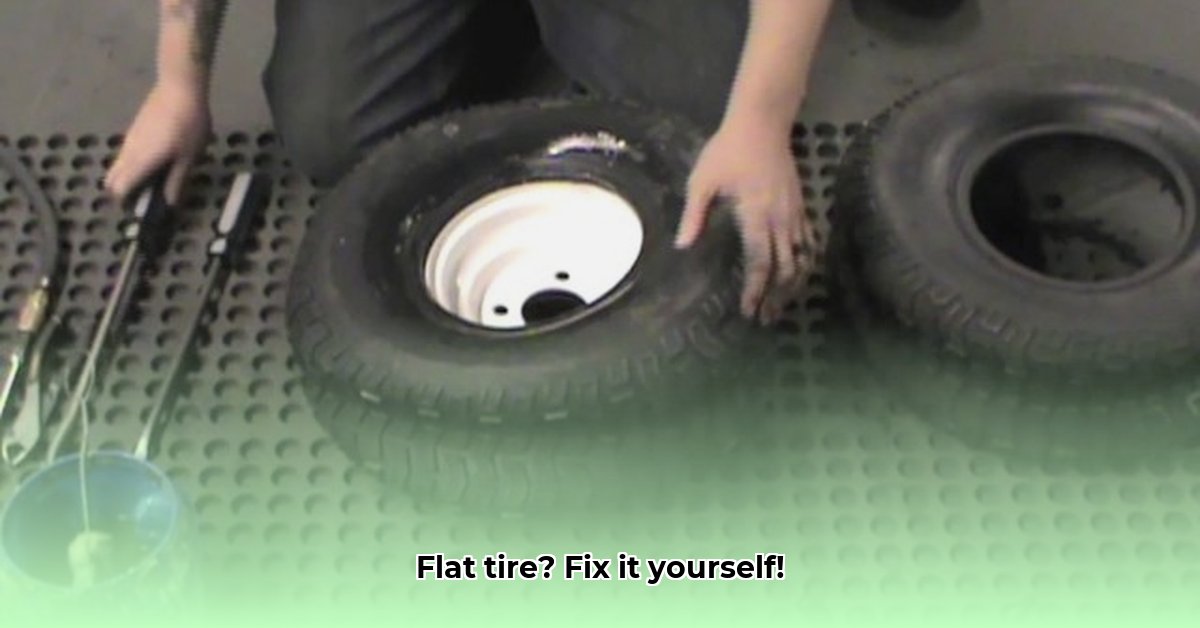
- Tire Alignment: Carefully align the new tire with the wheel rim. Ensure it's evenly seated.
- Seating the Tire Bead: Push the tire bead (the edge of the tire) over the rim. This can be challenging. If it's extremely difficult, a ratchet strap can provide more leverage. Work your way around the rim evenly.
- Inflation: Once both tire beads are seated, inflate the tire to the manufacturer's recommended pressure (found on the tire sidewall).
Reinstalling the Wheel and Final Checks
The final steps involve reattaching the wheel and performing critical safety checks. Don't rush this; a thorough check can prevent future problems.
- Wheel Reinstallation: Carefully slide the wheel onto the tractor’s axle.
- Hand-Tighten Lug Nuts: Hand-tighten the lug nuts, ensuring the wheel is snug.
- Lowering the Tractor: Slowly lower the tractor using the jack.
- Tightening Lug Nuts: Use the lug wrench to tighten the lug nuts to the manufacturer's specified torque (found in your owner's manual). If the specifications are unavailable, tighten them firmly but avoid over-tightening, which could damage the threads.
- Final Checks: Check the tire pressure again to ensure it's at the correct level. Double-check that all lug nuts are securely fastened. Gently rock the wheel to confirm it’s firmly seated.
Troubleshooting and Additional Tips
While this guide aims to cover most scenarios, there are potential challenges that you might encounter. Here’s some advice to help you tackle them.
- Stubborn Tire Beads: If you're having trouble seating the tire beads, try using a ratchet strap for additional leverage. Lubricating the bead with soapy water can also help.
- Damaged Wheel: Inspect the wheel for any damage before installing the new tire. If the wheel is bent or cracked, it will need to be replaced.
- Incorrect Tire Size: Always purchase the correct size and type of tire for your lawn tractor. Using an incorrect tire can be dangerous.
By following these steps and taking necessary precautions, you can successfully change a lawn tractor tire on your own. Remember, safety and patience are paramount throughout the entire process. Happy mowing!